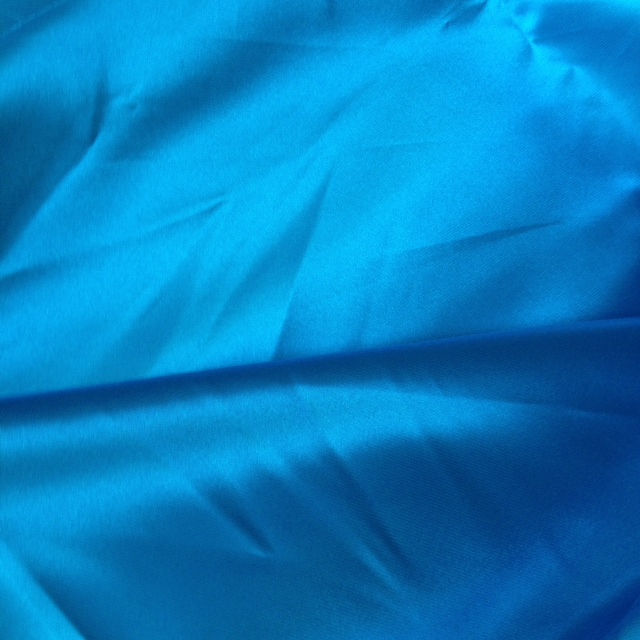
Finally cut out all the fabric! Ok, I still need to cut out the bow and the gauntlet facing, but otherwise it’s all cut. Here are a few pattern cutting pics: front underskirt (1 piece), side & back underskirt (4 pieces), sidefront & back bodice (2 pieces each of lining), and sidefront and sideback bodice (2 each of interfacing).


Altogether it came to about 40 pieces, including 4 for pockets from a pattern piece I stole out of Butterick 5757 (peasant skirt). I strongly prefer not carrying a purse when I wear costumes so I try to build in pockets whenever possible.
After hacking at 2 of the pieces, I gave up on all 4 pairs of crappy scissors around the house and made a quick trip to JoAnn’s for some real cutting shears:
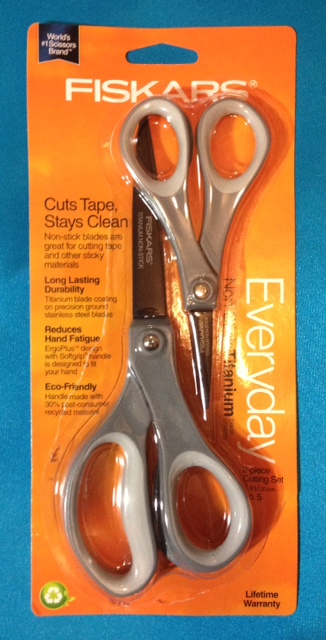
Not the fanciest by far, but vastly superior in that I could use any portion of the blades to cut and not just whatever inch or so hadn’t yet gone dull.
Next I ironed the bodice interfacing to the facing. Only after I did this did I read the instructions and discover I should have ironed the interfacing to the lining. Oh well, gotta be a badass, right? Also, the contrast between the light and dark blue is really gorgeous!

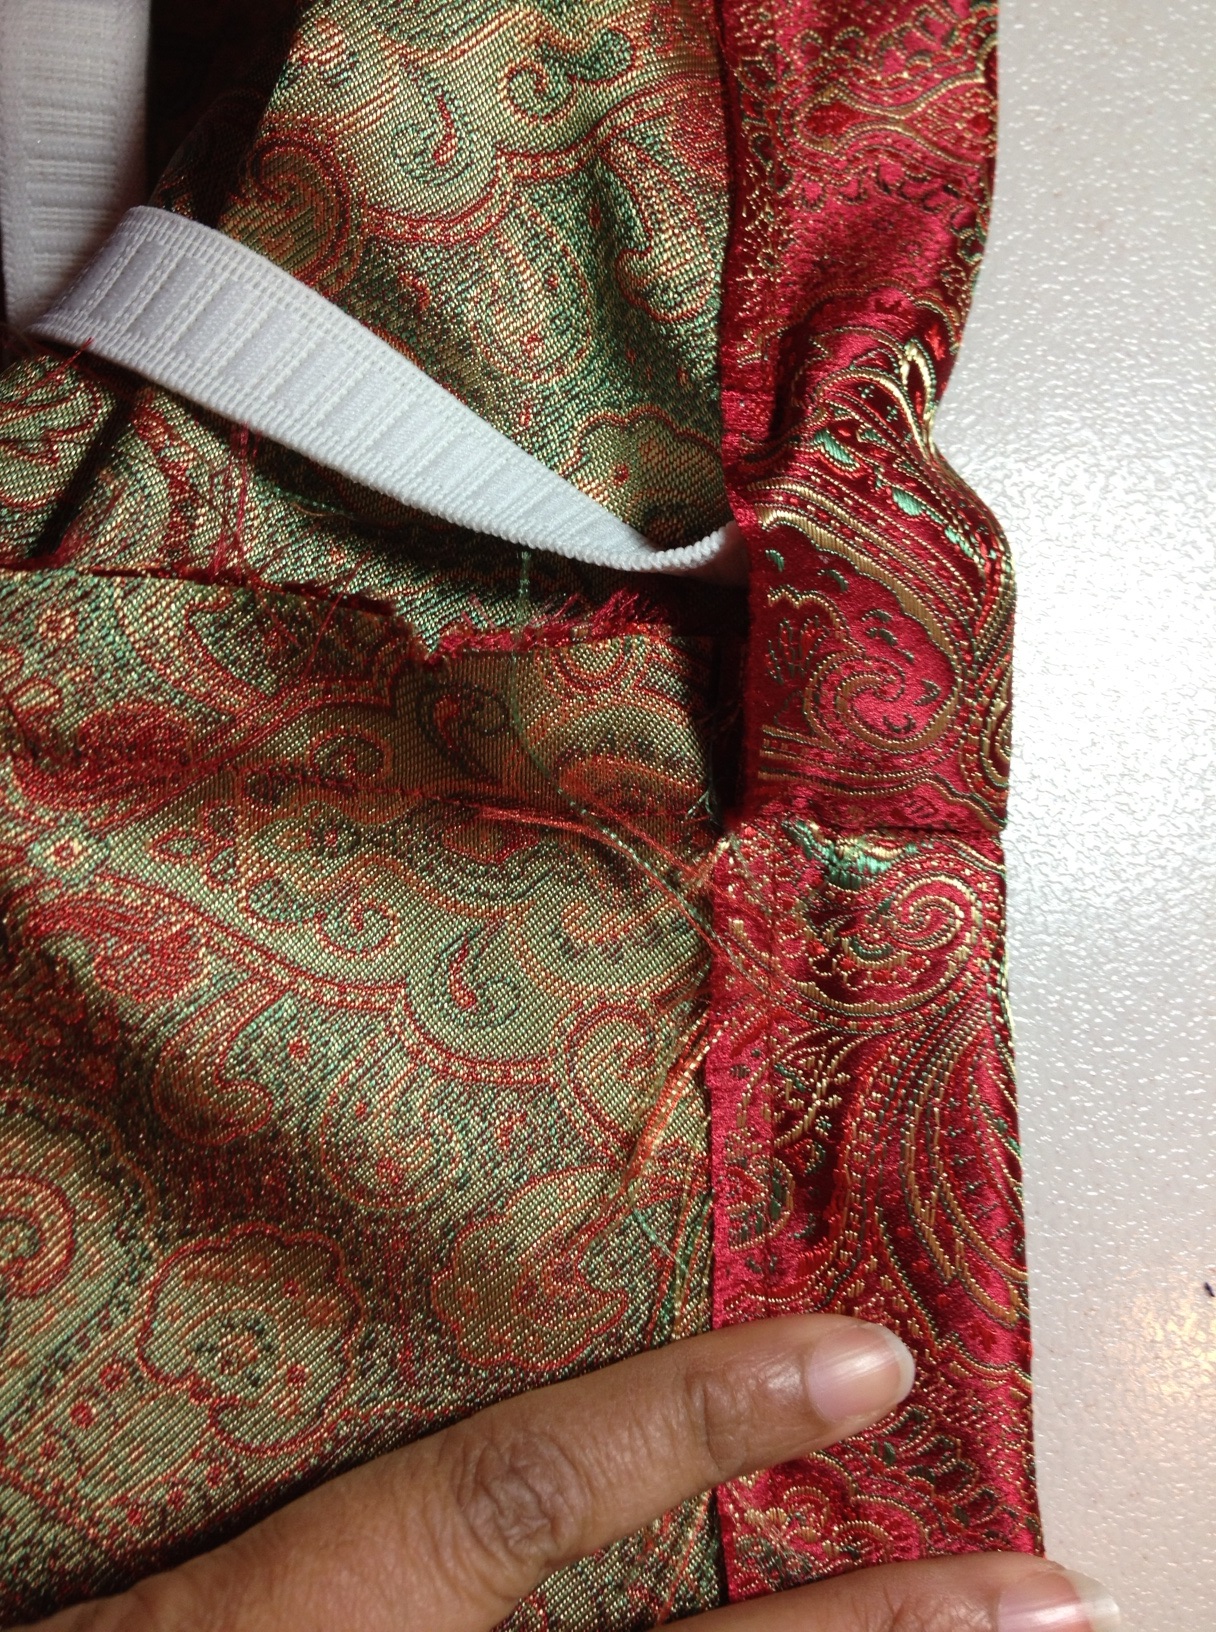
Sewing the bodice wasn’t too difficult: clip between the notches along the breast (you can see them on the right side of the piece pictured immediately above), and sew with notches matched up. Same for the lining, except I also had to add 9 pieces of 1/4 inch plastic boning, pictured below:
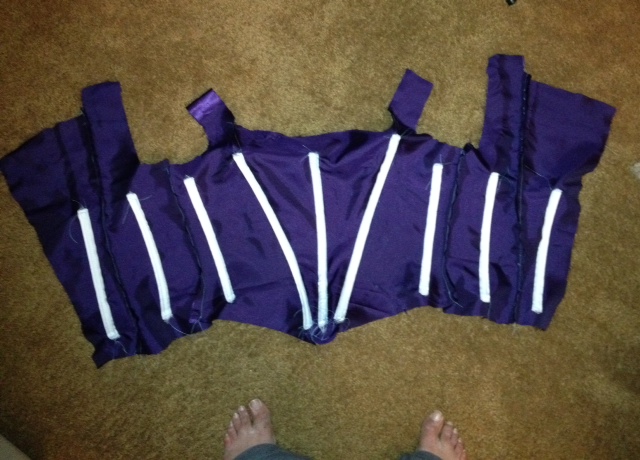
I did this by first removing the bone and trimming it so there was about half a centimeter of extra casing on both top and bottom, then sewing across the bottom of the casing. I then sewed one side of the casing to the lining, inserted the bone, and then sewed both the bottom and top of the casing to the fabric. I also made sure to dull the edges of the bones so they were less likely to poke through in the future. Note: chewing on the bone ends helps dull the edges while also taking the edge off your hunger, preventing you from wasting precious time on a snack break!
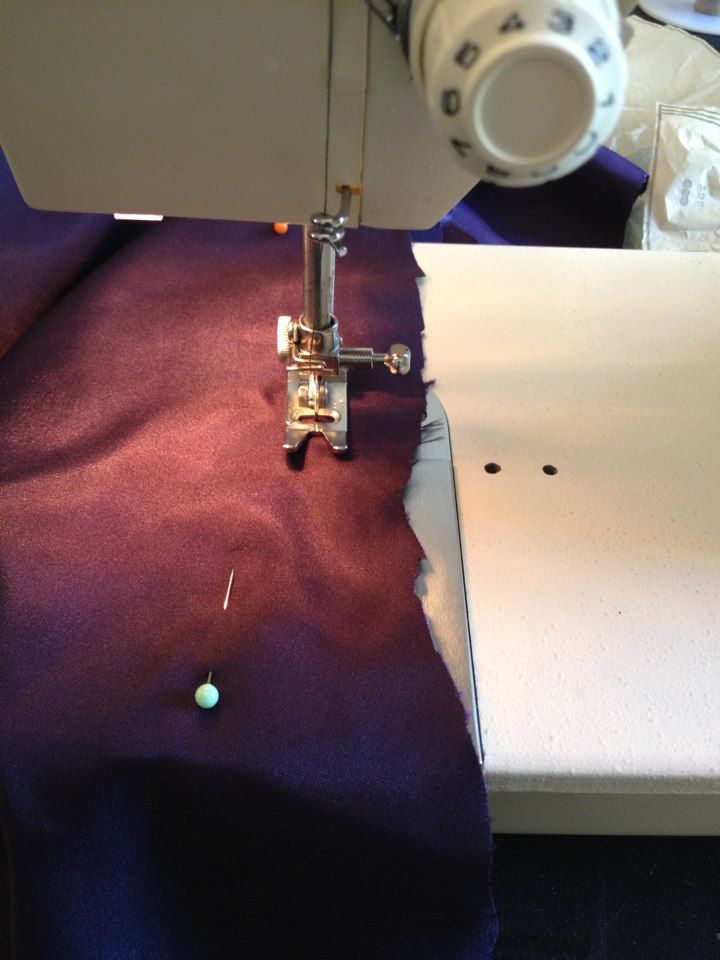
Here’s a closeup of me sewing the boning casing to the lining:

You may be wondering why the lining looks purple here instead of the royal blue in the cutting pic near the top of this post. This is because I do most of my sewing at my parents’ house, and most of my cutting at my house, and I forgot to transport the lining pieces with me when I made the trip from point A to point B. Luckily I had the bodice pattern pieces on me and some leftover purple lining from the Ever After inspired gown lying around, so I just cut them out again.
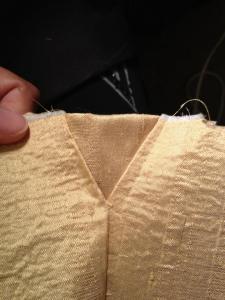
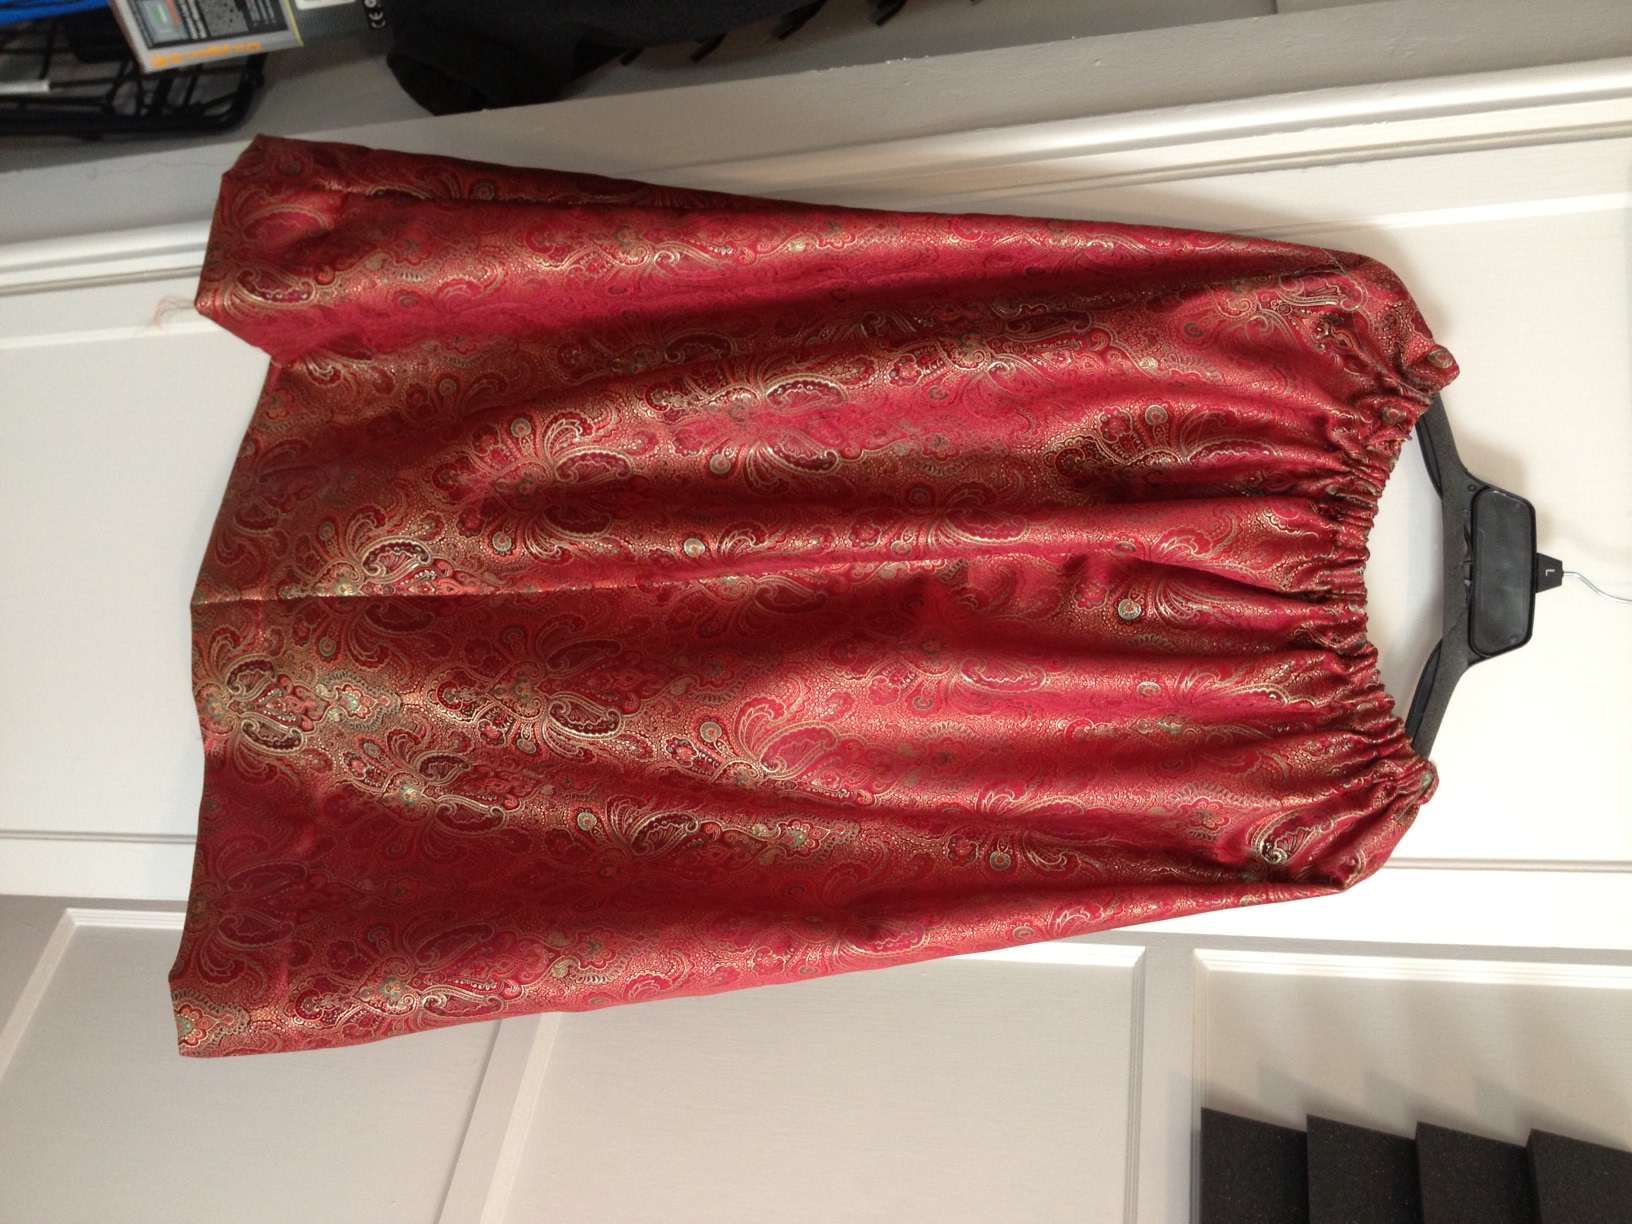
I then sewed the lining to the facing/interfacing along the neck line with right sides together, flipped it over so right sides were facing out, and pressed the neckline. And finally, I basted the lining to the facing/interfacing along the sides and bottom. Result below:
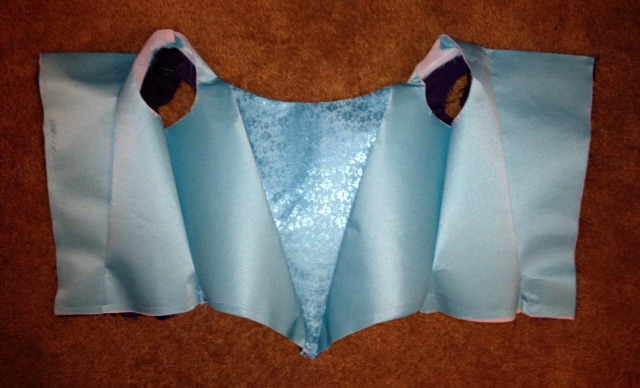

You can see a hint of purple along the neckline but that’s ok because the neck will be trimmed with white lace.
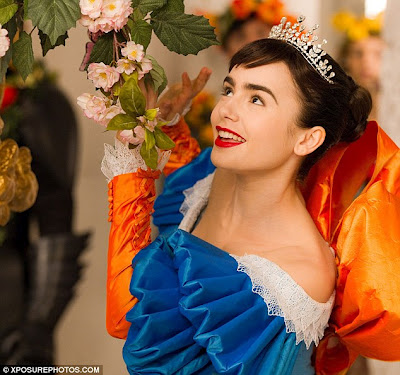
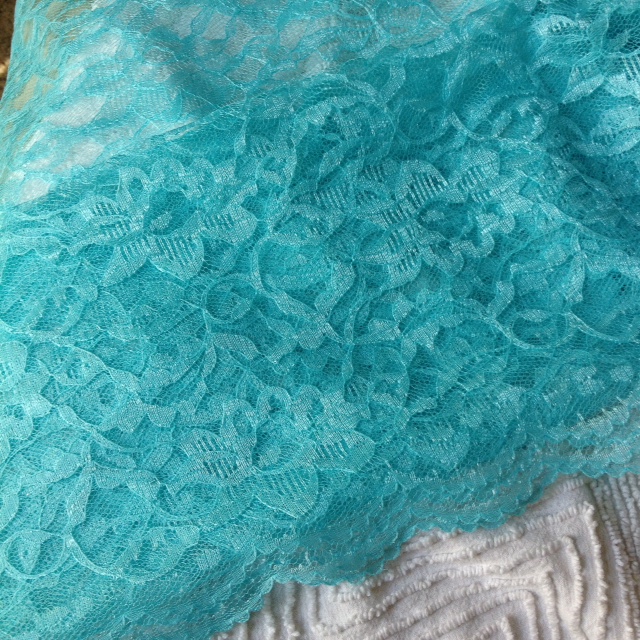
The astute reader will also notice that I chose to sew some pretty lace to the center bodice piece instead of doing the smocking found on the original movie costume. This is because I spent several hours Saturday night discovering the hard way that smocking by hand is not for noobs like me.
Well that’s it for this week. I’m pretty proud that I sewed the bodice in about 5 hours, including the half hour it took me to cut out the replacement lining pieces. Next weekend I will hem the bodice and baste the armholes, then start on the sleeves.
Before I sign off, I want to share that I found someone else who sewed this dress a few months ago, and she was nice enough to post close up pics of the detailing she did on the orange gauntlets, for which she used matching sheer orange ribbon. I think I’ll be copying this pattern:

Ok, goodnight everyone!