Archive | Renaissance RSS feed for this section

Ever After Gown – Part 4

29 Sep

Sewing the lining for the underskirt. As you can see I did a stellar job cutting out these pattern pieces on the line.

EA_sewing_lining


And sewing the overskirt. This took FOREVER, and I unfortunately forgot an entire piece, and then I also forgot to leave a seam open in the back for the zipper!  ARGH!

EA_sewing_overskirt


Then a miracle occurred…

No, kidding. I just forgot to take pictures because I was too stressed out. The last steps were (1) sewing the overskirt to the underskirt, (2) sewing the skirt to the bodice, and (3) sewing the zipper. Since the zipper traveses the green skirt and the gold bodice, I had to use green thread on the bottom half of the zipper and then gold thread on the top half. Very glad I remembered this before I started sewing the zipper!

Here’s the finished gown from front, side and back:

EA_frontEA_sideEA_back

And here’s a side-by-side comparison of my gown with the Ever After gown that inspired it:

EA_comparison

Ever After Gown – Part 3

5 Jul

Finally finished the sleeves! Yay!

EA_finished_sleeve_too_tight

I screwed something up cutting up out these pieces because the sleeves barely fit.  See how tight they are, especially around the elbow? Ah well, time to seam rip and widen.

I ended up adding a thin strip of gold fabric down the entire length. I debated covering that strip with the same green velvet and red trim but decided I liked it better plain. Here’s how it looked:

EA_widened_sleeves_underside

I had to widen the armhole too. Since I didn’t want to widen the entire side of the bodice, I added a triangular piece of gold fabric:

EA_widen_armhole_beforeEA_widen_armhole_after

Here’s me wearing the finished bodice with sleeves. Cute, right?

EA_bodice_with_sleeves

Next up is the underskirt and underskirt lining. This is just a giant 6-piece circle skirt, so I won’t bore you with the details. But just for kicks, here’s a pic of me sewing the shiny gold dupioni:

EA_sewing_underskirt


And here’s me wearing the skirt and bodice unattached. The skirt is pinned in the back right now because a zipper needs to go there, and I can’t add the zipper until I finish the underskirt with lining and then sew the overskirt to the underskirt. Fun times ahead, yo.

EA_bodice_underskirt_unsewn

Ever After Gown – Part 2

1 Jun

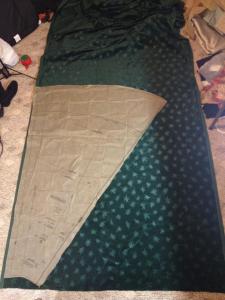
Ok, I finally got started on this gown!  Here’s a pic of the pattern when it arrived about a month ago:

EA_pattern

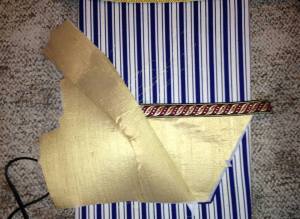
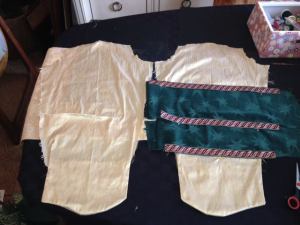
I started by cutting out about 50 pattern pieces, which took me two weeks on & off.  The bodice alone has 9 pattern pieces, and since I need to cut facing, interfacing and lining, that was 27 right there!  Here’s a pic of me getting started on the cutting.  I decided to go with a green velvet instead of purple, because it looked better against the gold.

EA_cutting_overskirt

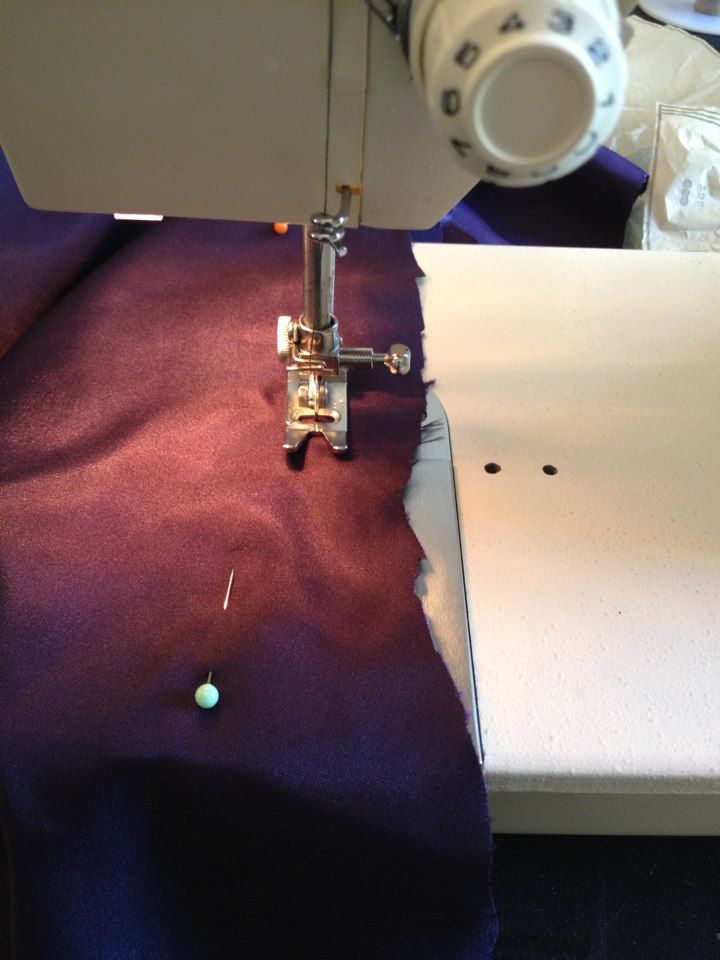
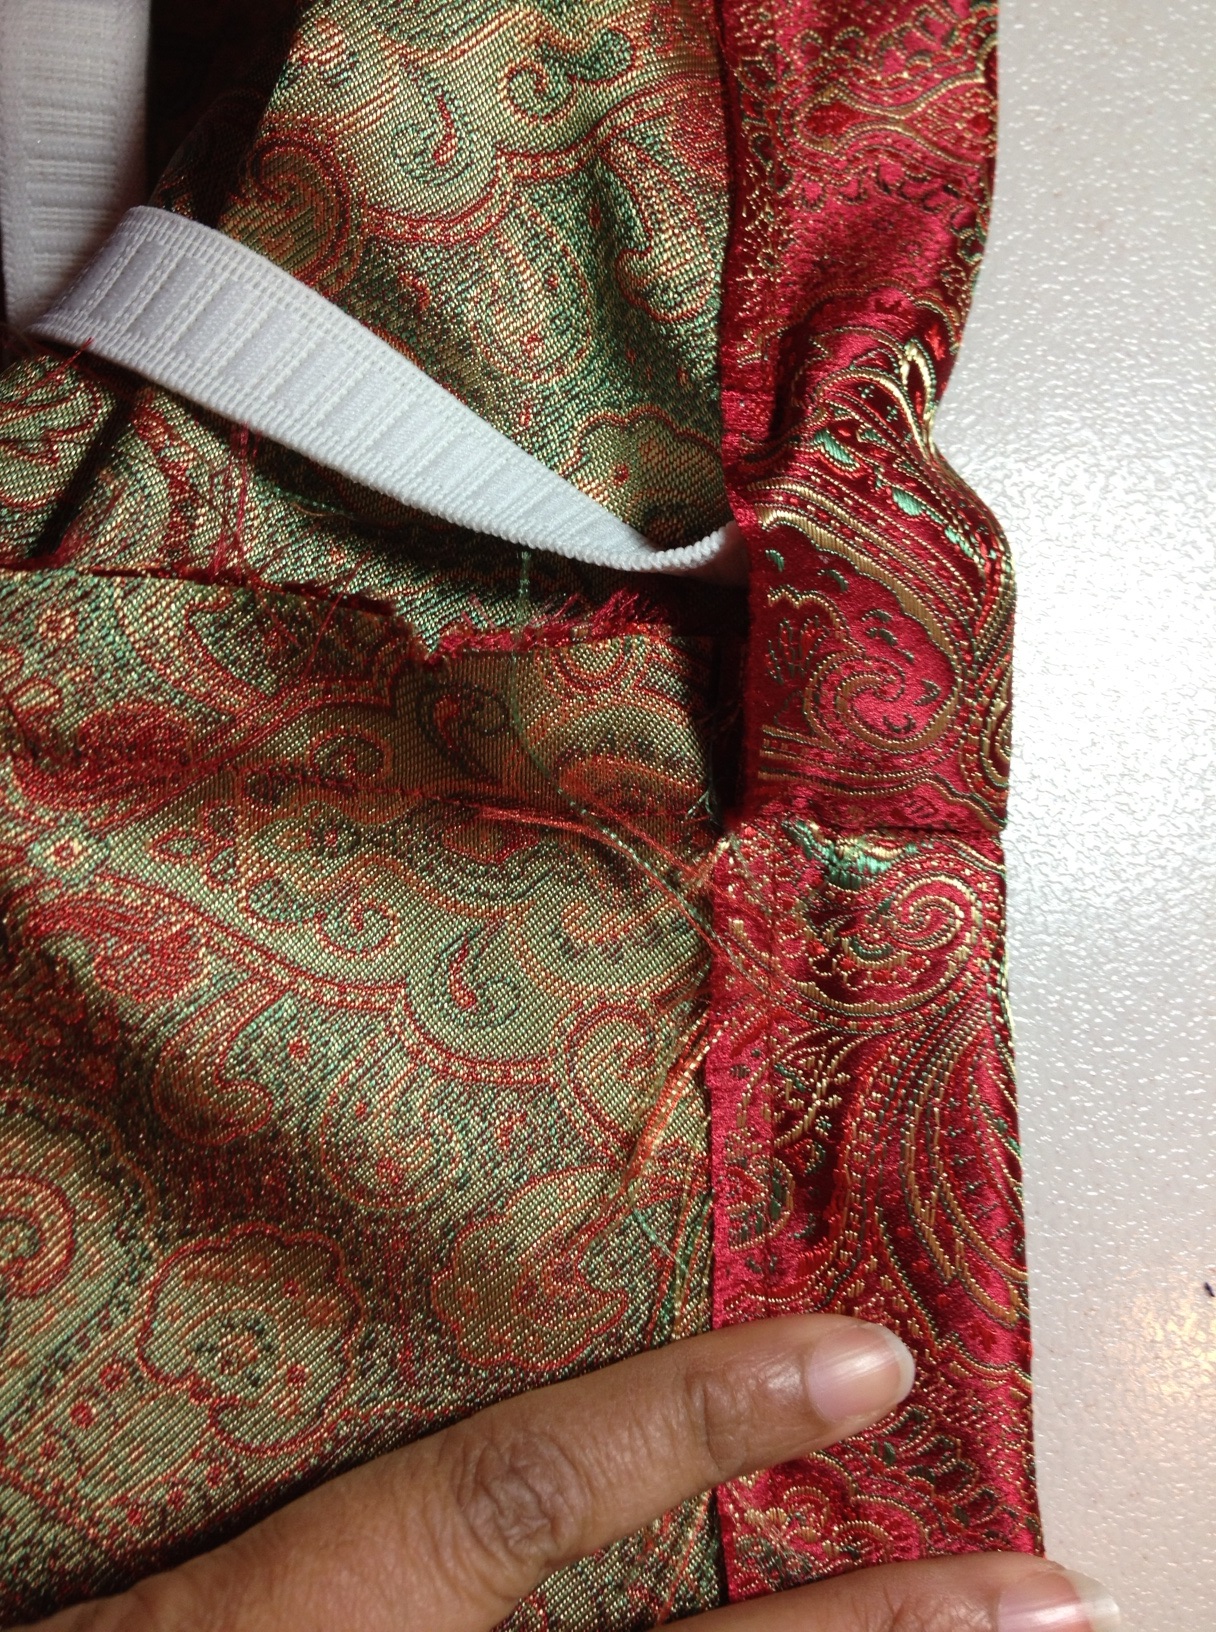
I had to be careful ironing the interfacing to the bodice pieces, because the silk dupioni tends to crinkle under high heat and steam.  There are still wrinkles there that I haven’t figured out how to get rid of. Here’s the beginning of the bodice, with some red trim I found that looked absolutely divine against the gold and green fabrics:

EA_sewing_bodice

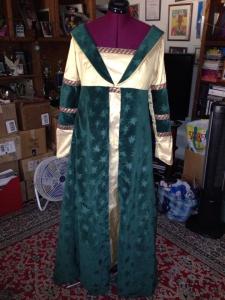
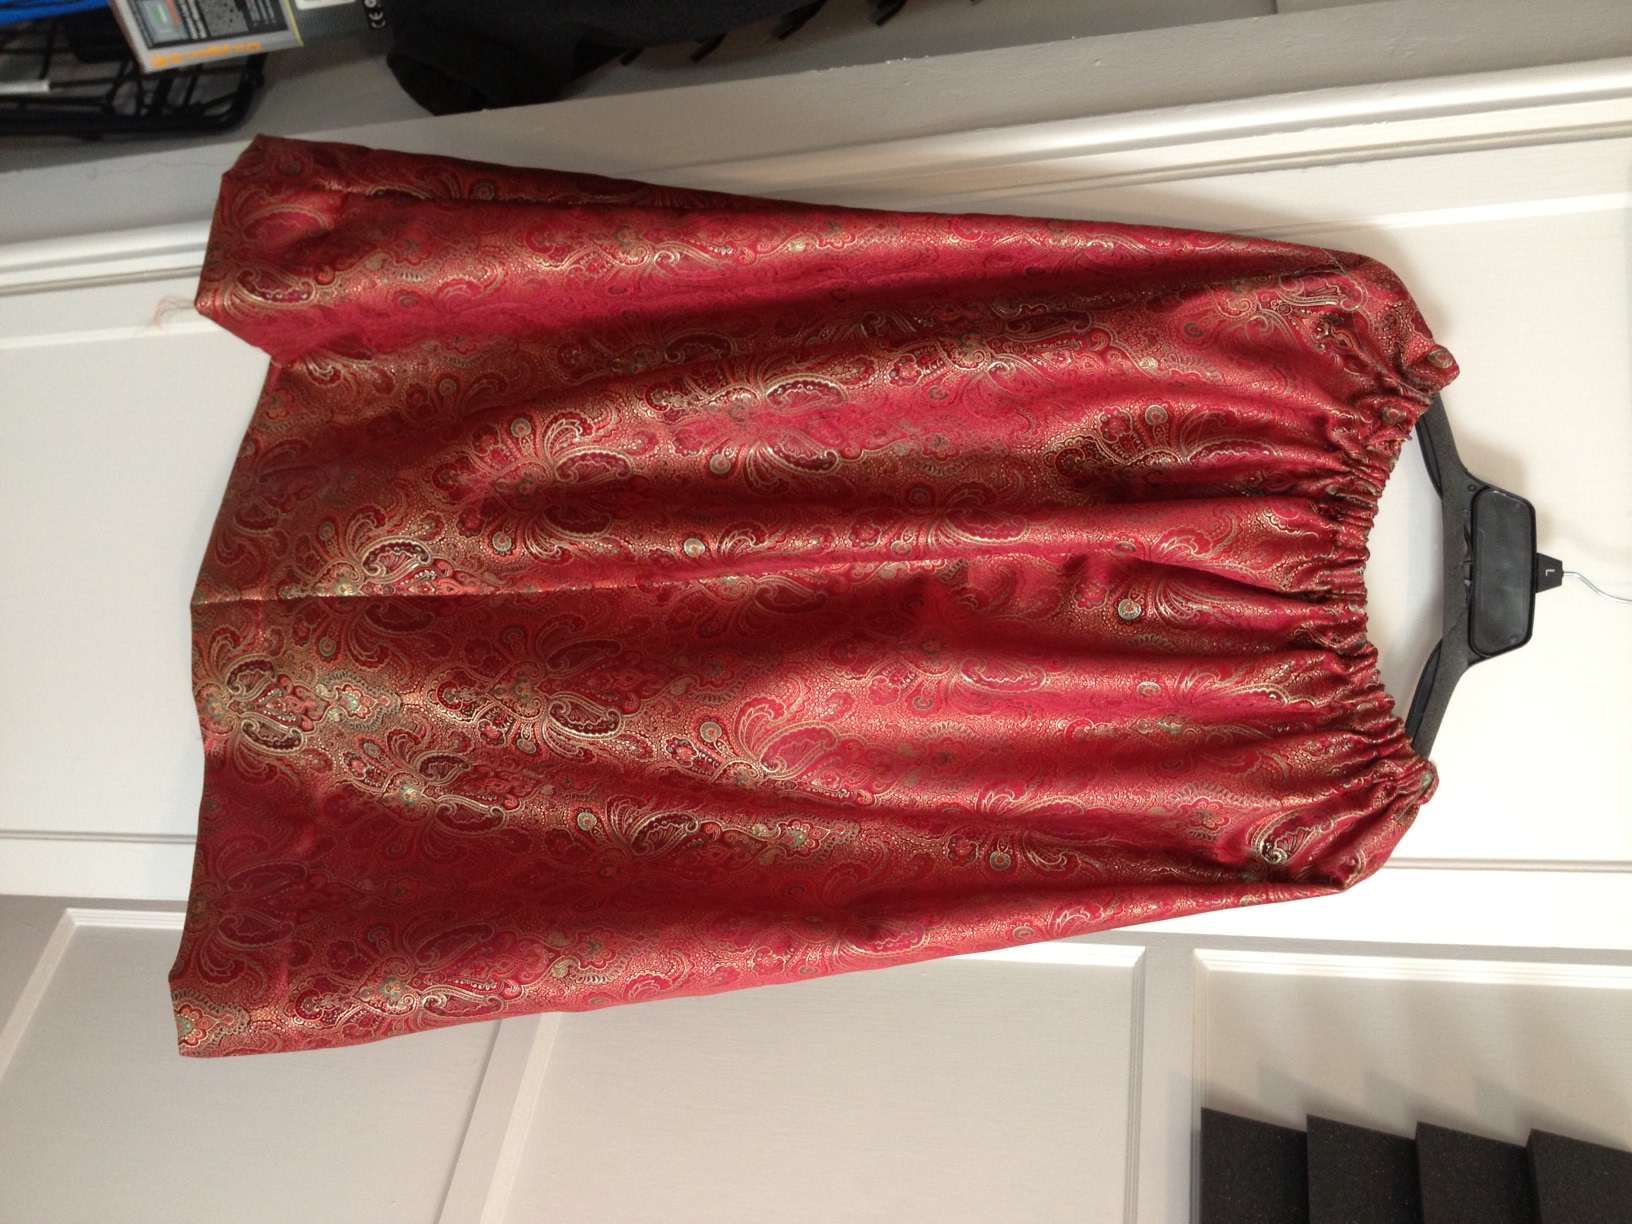
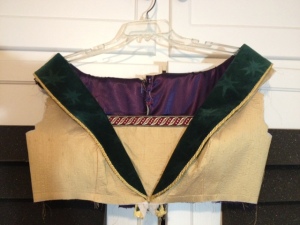
And here, many many hours later, is the finished bodice, front and back:

EA_finished_bodice EA_finished_bodice_back

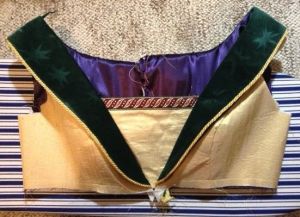
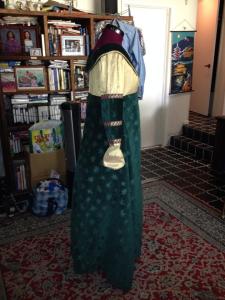
I’m not sure what went wrong when I cut out the pattern pieces, but as you can see from the back view, the pieces were uneven even though I matched the notches perfectly. Oh well, There’s a reason why I cut them out a bit bigger than the pattern.

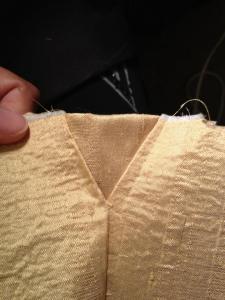
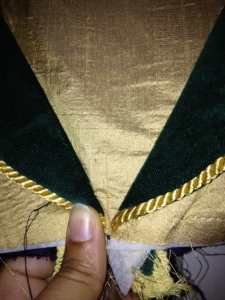
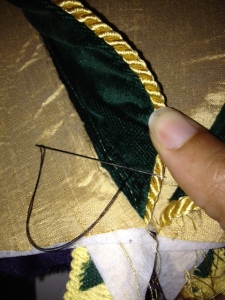
the thing that really bugged me was that the green collar was uneven. See how the right side is narrower and ends a bit higher than the left side.  Well, after a bit of puzzling, I decided to hand sew the left side to be just as narrow and high as the right side.  Here are a few pics:

photo 1 photo 2 photo 3

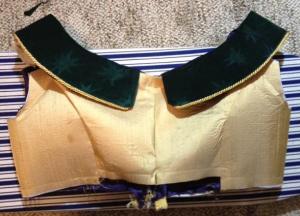
And the finished bodice, with even collars:

photo 4

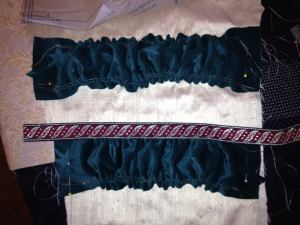
Next up – the sleeves!  These are of gold dupioni with green velvet accents and red trim.  Now, the green velvet was supposed to be puffy, but the velvet fabric was so thick and the dupioni so thin, I didn’t see a good way to affix the velvet puffs to the sleeve in a manner that wouldn’t rip the thread or eventually tear the sleeve.

EA_sleeves_cut

Here’s what the puffs would have looked like. I definitely needed stronger thread, because what I used ripped twice while I was trying to gather the velvet. That’s when I gave up.

EA_sleeve_puffs

More to come later!

Red Renaissance Outfit – Part 2

27 Apr

Finished the matching full skirt yesterday, using Butterick 5757 again and taking a whole bunch of shortcuts.  No pockets, no lining (which seems to have been a mistake because this fabric unravels like crazy), and did a simple elastic waist by folding over the fabric and sewing the elastic into it.

I first sewed the end of the elastic to the fabric, then pinned and sewed the waist fabric over it all around, leaving a one inch gap for the elastic to stick out through.  I then gathered the fabric around the elastic until I reached an acceptable waist circumference, then cut and sewed the elastic to itself through the fabric, and then closed the one inch gap.

photo 1photo 2

This really only works when the fabric print is so busy you don’t notice the extra stiches, or when the waistband will never show, as will be the case with my costume because the corset and the overskirt will cover it up.

Here’s the finished skirt:

photo 3  photo 4 photo 5

Next up is the black overskirt. I’ve cut this already and started sewing pockets already. I’ll be putting some gathering in it, a bit like this brown skirt:

photo (7)

Now it’s bedtime. Had a long stressful week at work, and I just got back from a long afternoon and evening at Disneyland so I’m beyond pooped.

Ever After Gown – Part 1

24 Apr

After scouring the web for a pattern similar to the green & gold Ever After gown worn by Anjelica Huston at the royal ball near the end of the film, I finally ran across McCall’s 3053.  This is strangely marketed as a bridal gown, but pattern option C looks almost identical to the gown, with the exception of a full train in back instead of the two separate draped pieces hanging down the back off each shoulder.  I don’t have enough purple velvet to make the train, so I’ll either omit it entirely or figure out a way to make the separate drapes.

Ever After gown:

DSC_1613DSC_1625


McCall’s 3053:

M3053


I originally wanted the purple velvet to go with the blue dupioni, but it turns out this pattern takes about 6 yards of dupioni and I only have 3 in the blue.  The only dupioni I have enough of is the gold, so it will be a purple and gold gown instead, which is a more traditional color pairing anyways.

Purple velvet & gold dupioni:

photo (7)

Ok, off to buy the pattern!  But first, here’s a fuzzy screenshot of Anjelica Huston wearing the gown:

devil01

Fabric Windfall

24 Apr

A few weeks ago I joined a costume party meetup group online, and a few days ago someone posted to the group that she had dozens of yards of free fabric for anyone who wanted to take it off her hands.  I jumped on the chance, especially since I’ve spent well over $200 on fabric in the past few weeks alone.  At the very least, I figured, I would end up with some stuff I could use to practice my bodice making skills.

I showed up at her house tonight to discover yards and yards of silk dupioni in so many gorgeous colors!.  I ended up taking home about 30 yards worth, plus some yards of purple patterned velvet, medium-weight light gold & blue brocade and some lightweight off-white brocade.

photo 1photo 2

photo 3photo 5

photo 1photo 2

photo 3photo 4

I also got some awesome silk thread:

photo 4

Now I get to go off and brainstorm color combinations.  I’m thinking an Italian renaissance gown with the purple velvet and blue dupioni (with silver trim?)

photo (7)

In the style of this beautiful masterpiece

DSC_1613DSC_1625